Journals
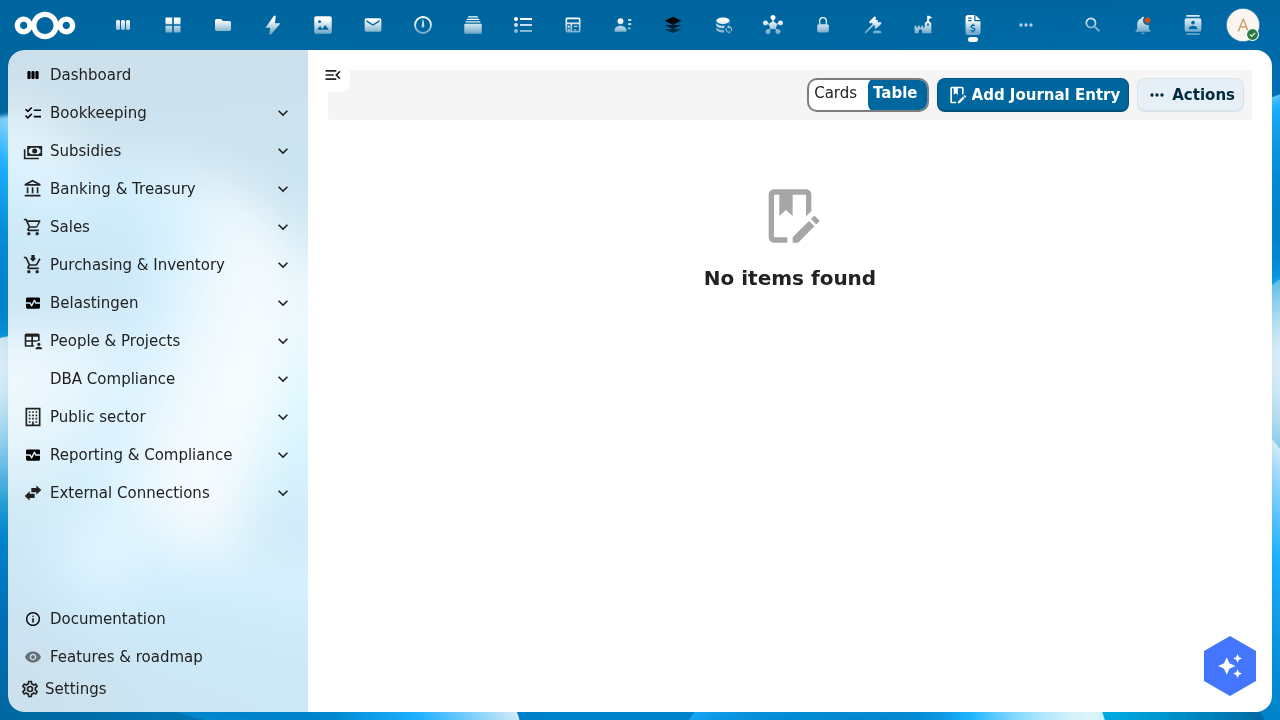
The Journals page is where you create and review manual journal entries (memoriaalboekingen) — entries that don't come from a bill, invoice, or bank statement. Use this for corrections, accruals, depreciation postings, opening balances, and other non-automated entries.
When to use manual journal entries
| Situation | Example |
|---|---|
| Opening balance | Load existing account balances when migrating from another system |
| Depreciation | Monthly depreciation entry for a fixed asset not yet automated |
| Accrual | Accrue a cost that is incurred but not yet invoiced |
| Correction | Reclassify a posting from the wrong GL account to the right one |
| Period-end allocation | Spread shared costs across cost centres |
For bill and invoice postings, Shillinq creates journal entries automatically — you should not re-enter those here.
Create a journal entry
- Click + Add Journal Entry.
- Fill in the header:
date— the posting date (determines which accounting period this entry falls in)description— a clear explanation of what this entry representsreference— optional internal reference or document number
- Add journal lines (you need at least two — one debit, one credit):
account— pick from your chart of accountsdebitorcredit— enter the amount on the correct sidecostCentre— optional, if you are tracking by cost centredescription— optional line-level note
- Verify that total debits equal total credits (the entry must balance to zero).
- Click Save. The entry is posted immediately to the general ledger.
Every journal entry must balance: the sum of all debit amounts must equal the sum of all credit amounts. Shillinq validates this before saving.
Recurring journal entries
For entries you post every month (e.g. depreciation, rent accrual), you can save a template:
- Create and save a journal entry as normal.
- Click Save as template.
- Next month, go to Actions → From template, select your template, adjust the date if needed, and post.
Reverse a journal entry
To undo a posted journal entry:
- Open the journal entry detail.
- Click Reverse.
- Confirm the reversal date (defaults to today, can be changed to the original date).
Shillinq creates a new entry with all debits and credits swapped, and links both entries together so the audit trail is clear.
Related
- Bookkeeping foundations — understand double-entry bookkeeping
- General ledger — view all posted transactions per account
- Chart of accounts — the accounts you can post to